Prepper projects: How to make an upcycled fire pit using scrap materials
11/17/2020 / By Virgilio Marin

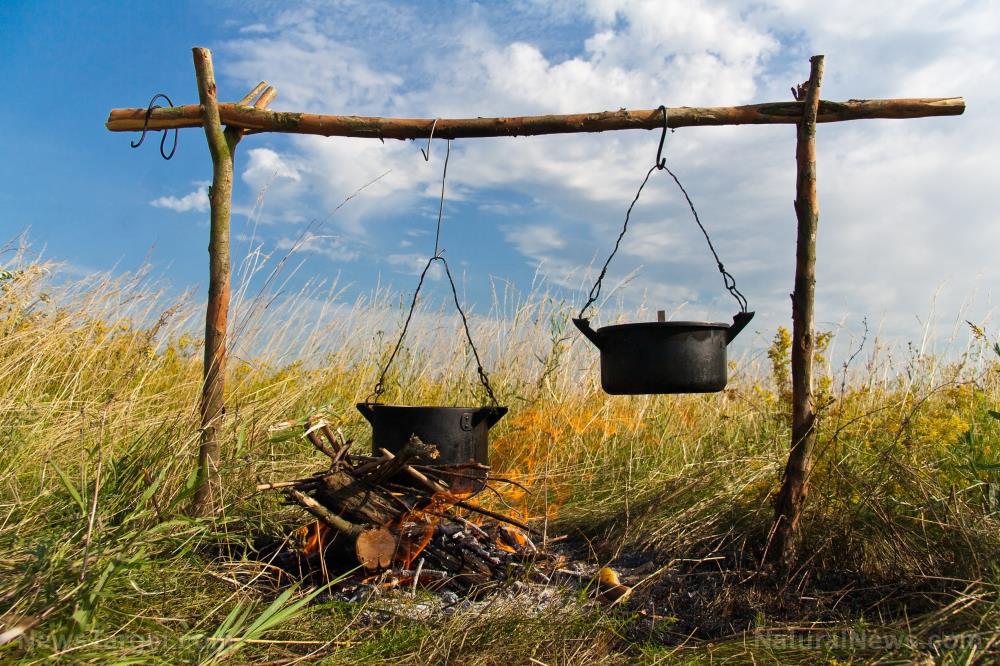
Knowing how to build a fire pit from scrap materials is a useful prepping skill. A fire pit has various uses to a prepper besides providing a cozy year-round atmosphere. It offers an alternative way of cooking, improves the camping experience, and allows you to burn bills and get rid of dead leaves.
Making your own fire pit is an excellent opportunity to develop your fire-building skills. Also, because you can make one using scrap materials, building a fire pit is a good way to get rid of the junk in your backyard.
If you have any experience with metalworking or know your way around welding, you can make a unique and highly functional fire pit and grill using scrap metal. (h/t to HomesteadSurvivalSite.com)
How to make an upcycled fire pit from scrap metals
You’ll need the following supplies and gears for this DIY fire pit:
- Stainless steel drum from an old clothes dryer
- White vinegar to remove calcium and lime from the drum
- Circular sandpaper
- 3 looped bolts with 1/4 inch wide threaded shank
- 2 bolts
- 5 nuts
- 3 large washers with an interior diameter of an inch
- 2 metal grip washers
- 8-foot metal pipe, such as an electrical conduit pipe
- 3 metal rods about an inch thick and as long as the dryer drum is high (you can use old horseshoe stakes)
- Heavy metal hibachi grill grate
- 6 inches of metal corner piece about 1/8 inch thick and an inch wide on each side of the bend
- 2 square sheets of stainless steel a foot long and a quarter of an inch thick with rounded and sanded edges
- Arc welder
- Metal cutting saw
- Circular sander
- Drill
- Step drill bits terraced from 1/8 inch up to an inch or more
If you lack some of these gears, you can ask a good neighbor or a friendly welder to loan you the equipment. (Related: Prepping your home with essential survival supplies.)
Follow the steps below to get started:
- Scrape off any calcium or lime residue on the drum using a pick. Rub the surface off with vinegar.
- Turn the drum upside down. Using the step drill bit, drill 3 inch-wide holes into where the bolts attached the drive assembly to the bottom of the drum
- Cut the metal pipe into nine 8-inch pieces. Six of the pieces should have a flat bottom on one end and a 45-degree angle on the other end. The remaining pieces should have a 45-degree angle on both sides.
- Take two of the flat-bottomed pieces and one of the pieces with double 45-degree angles and weld them together. Sandwich the latter piece in the middle of the flat-bottomed pieces to make a Z-shaped leg. Repeat the welds until you have 3 of these Z-shaped legs.
- Sand the legs and drill a 1/4 wide hole, 1 and 1/2 inch from the top of each leg. Test to see if the shank of the looped bolt fits.
- Spray paint each leg with a flat black, high-temperature paint. Let it dry.
- Insert the legs into the inch-wide holes on the drum. The end of the leg with the hole should be at the top.
- At the top of the drum, spot weld a large washer to the protruding leg to attach the leg to the drum.
- Thread a nut onto the looped bolt and insert them into the 1/4 wide hole you drilled in the leg. Spot weld the nut only to the drum. You want the looped bolt to turn freely to tighten to the rods. Do this with all 3 legs.
- Mask the tops of the legs and spray-paint.
- Prepare your metal rods by cutting them from scrap. Sand the rods to bare metal.
- Sand and clean the old hibachi grill top.
- Insert the metal rods into the metal pipe of the Z-legs and place the hibachi grill on top of the drum.
- Take the 6-inch corner piece of metal and place it on the grill top to align with the rod. Mark the rod where the bottom of the corner piece meets.
- Cut the ends of the corner piece at a 45-degree angle on both sides. Cut a 1/2 inch square notch dead-center on one side of the corner piece.
- Place the corner piece against the hibachi grill top and mark the piece with a pen, starting from the grill top if it has a hinge. Drill a 1/4 inch wide hole on the marks.
- Attach the hibachi grill top hinge to the corner piece using the bolts, washers and nuts. Invert the top with the angled metal piece down and weld the metal rod to the corner piece at the 1/2 inch notch. If you can’t do this, weld the grill top directly to the angled piece.
- Drop the rod with the grill top attached into one of the pipe legs and tighten the looped bolt to see if the adjustment works.
- Weld the other two rods cut to the same length to the stainless steel squares in the middle at one end.
- Insert the rods with the stainless-steel plates attached and rotate away from the hibachi grill.
- You’re done but first, you need to wipe down the metal plates with vegetable oil before using the fire pit for the first time.
Making your own fire pit can be challenging at first, especially as it requires several steps. You can ask for help from a welder if you lack experience doing metalwork. Consider this project a good learning opportunity to diversify your prepping skills.
Sources include:
Submit a correction >>
Tagged Under:
camping, DIY, fire pit, Gear, homesteading, how-to, metalworking, preparedness, prepper, prepping, prepping skills, SHTF, survival, upcycling, welding
This article may contain statements that reflect the opinion of the author
RECENT NEWS & ARTICLES
Homesteading.News is a fact-based public education website published by Homesteading News Features, LLC.
All content copyright © 2018 by Homesteading News Features, LLC.
Contact Us with Tips or Corrections
All trademarks, registered trademarks and servicemarks mentioned on this site are the property of their respective owners.


