A survival guide on how to render lard
02/19/2019 / By Mary Miller
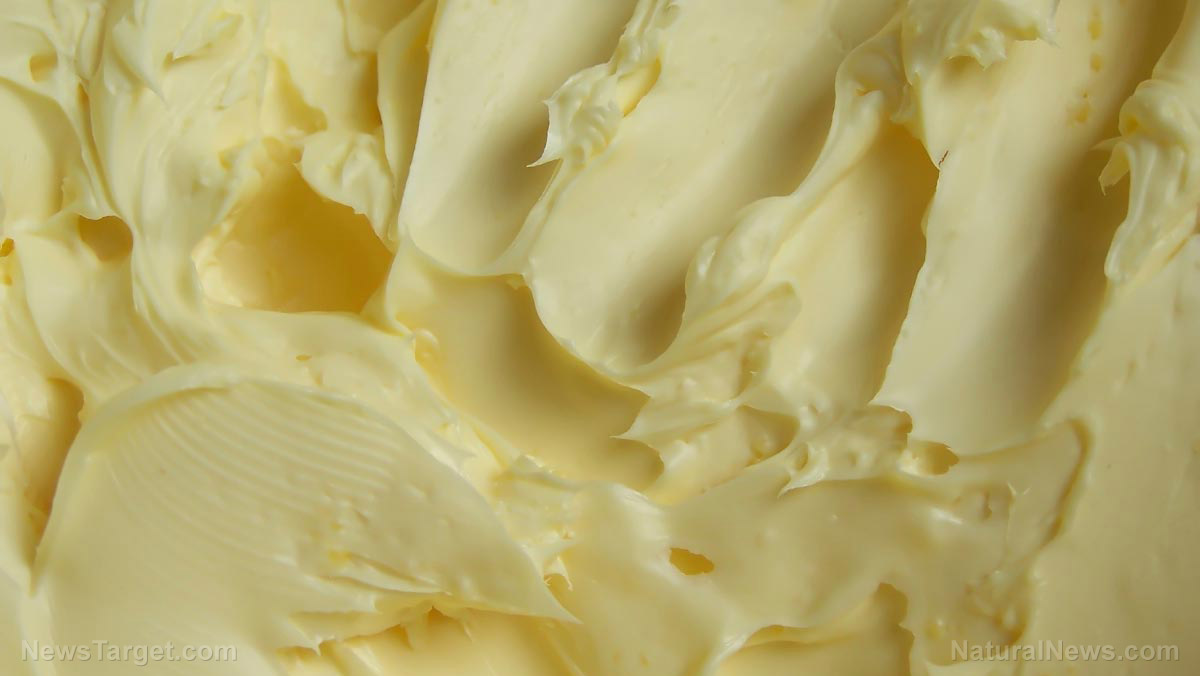
Lard should be an essential part of your survival pantry. It can be useful for cooking, baking, frying, and preserving other food items. Lard can also be used as a cost-efficient alternative to margarine and cooking oil. Learn how to render lard for your SHTF stockpile by following this simple guide. (h/t to HomesteadSurvivalSite.com)
Lard is rendered pork fat that is often taken from the belly of a pig and has been strained of meat bits and other impurities. It is rich in calories and has incredible staying power. The key to rendering good lard is to first get superior quality pork fat. You can often find raw lard at ethnic grocery stores or you can buy back fat from most supermarkets. (Related: Why lard should be an essential part of your SHTF stockpile.)
How to render your own lard
You will need a few lard rendering tools before you can start rendering your own lard.
Ingredients and items needed:
- Kitchen shears
- 7-quart crockpot or large slow cooker
- Large metal slotted spoon
- Large metal ladle
- Canning jars with lids (preferably quart-size or pint-size)
- Canning funnel
- Large pot
- Large clean towel
- Dry washcloths
- Pork skin
- Water, to taste
Procedure:
- Take your pork skin and freeze it for 10 to 15 minutes. This will make it easier to cut with your kitchen shears.
- Once the pork skin has been slightly frozen, cut it into strips or one-inch square pieces using your kitchen shears. Make sure the fat is still attached.
- Take the pieces and lay them out evenly in your crockpot. Fill the crockpot up to ¾ full of pork fat chunks with the fat side down. You can add a little water to keep the fat from turning too brown.
- Set the heat on high until the pork pieces begin to bubble.
- Once it starts to bubble, turn the heat to low.
- Keep the pot covered as the lard renders.
- Allow the fat to slowly melt off. It should have a clear and light brown translucent appearance.
- While the lard is rendering, use your large pot to sterilize your canning jars. Place the canning jars and their lids into your pot and pour in enough water to cover them.
- Boil the canning jars uncovered for 10 minutes.
- Use your slotted spoon to gently stir the lard in your crockpot from time to time. This will allow each piece to be equally exposed to the heat for further rendering.
- Remove the sterilized jars from the large pot and let them dry on your clean towel. Keep the open ends of the jars facing down.
- Once your lard has been fully rendered, use your ladle and canning funnel to carefully ladle the lard into your sterilized jar. Avoid drips on the lids as this can compromise the seal of your lid. Use the dry washcloths to protect your hands from the heat of the lard.
- Let the jars of lard rest for 12 to 24 hours at room temperature. You can even refrigerate the jars to speed up the process. You should end up with a bright white substance with a solid and opaque appearance.
Typically, lard stored in an airtight container can stay fresh for up to three months. If your lard has been properly canned and stored in a cool, dark place, it can keep fresh for up to five years. However, once you’ve opened a can, you should keep it refrigerated and consume it within a month. If you freeze your lard, you can extend its shelf life indefinitely.
Learn more about lard and other survival foods by going to EmergencyFood.news.
Sources include:
Tagged Under: emergency food, Food storage, food supply, homesteading, how-to, lard, off grid, pork fat, preparedness, prepper, prepping, self sufficiency, SHTF, survival food, Survival Tips, survivalist, sustainable living, uses for lard


