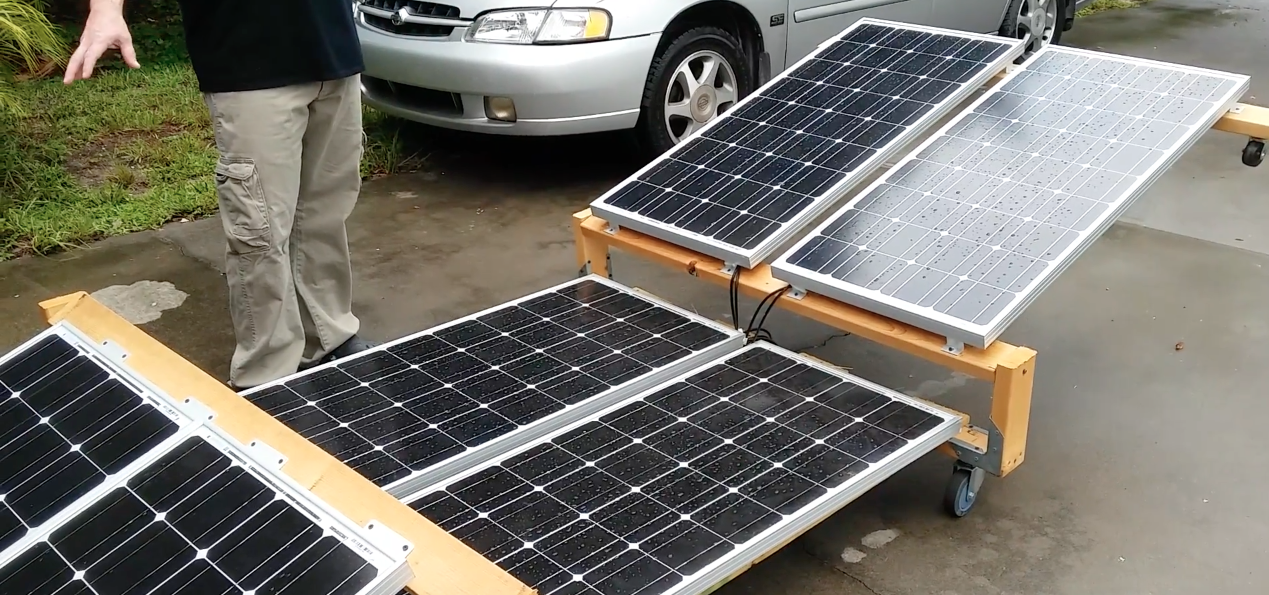
A guide to building your own mobile solar power station
12/19/2018 / By Edsel Cook

Staying in touch with family, friends, and allies is a must, especially when SHTF. But long-range active communications equipment will require quite a lot of power, especially if you are going to use a powerful radio transceiver that can reach very long distances.
Solar power is one of the most efficient and reliable means of powering such power-hungry electronics. An article by M. D. Creekmore showed how you could build a solar power charging station that you can take anywhere with you to power your communications gear and other equipment.
A DIY solar system will be made up of two parts: the solar panel and the solar battery charger. The charger must be easily transportable, can recharge a large battery within less than half a day, and have more than one way of charging a battery.
It should have at least two batteries, with the ability to add more as needed. Each battery should be able to hold enough energy to power your equipment for at least 12 hours. A discharged battery will be swapped out for a freshly-charged one. (Related: Essential survival gear for the home.)
The requirements for a portable solar power recharging station
Your portable charging station should be designed to fill your needs. Calculate the total power requirements of the devices you are planning to hook up to it. Make sure you can charge all of the devices at the same time, although these occasions should be fairly rare.
Deep cycle RV batteries are highly recommended for the solar power charging station. They have large storage capacities and long lifespans. The solar panel itself should be capable of generating at least 20 watts.
Get a heavy-duty hand truck that will carry the entire system. This dolly will let you haul the charging station to wherever it is needed, transfer it to areas where the sunlight is strongest, or bring it inside your home or hideout to keep it safe from thieves or the weather.
Set the solar panel on top of the hand truck. Mount it on a pivot that lets you angle the panel towards the sun or adjust it to keep it out of the way when not in use.
Connect the solar panel to a charge controller that will regulate its operation. Also hook up a small meter that will show you the charge level of the battery, as well as a smaller charging unit.
Any portable equipment should be attached to the hand truck for charging purposes. After it is fully charged, the device should be removed to reduce the load on the battery.
Finally, fit a battery box to the foot of the dolly. This will hold the RV battery that will be charged by the solar panel.
Using and maintaining your mobile solar power charging station
The entire solar power charging station will be controlled by a power panel. This control panel will have cables and terminals that can be quickly and easily connected to the devices.
The panel should have inputs for the batteries that make up the station. It should also have an extension cord type connector that can be plugged into a wall socket or similar external source of power.
You can save on power by avoiding the addition of indicator lamps. If you need light to use the panel at night, add an energy-efficient LED that can be switched on and off as needed.
To keep the batteries fully topped of, you can also add a maintenance level charger. That way, your portable solar power charging station will be ready for any emergency.
Learn how to improve the security and efficiency of your home at Homesteading.news.
Sources include:
Tagged Under: battery, DIY solar system, do it yourself, Gear, homesteading, off grid, preparedness, prepping for SHTF, self-reliance, solar panels, solar power, solar power system, survival gear


