Saving seeds is simple and easy: Basic tips and how-to wisdom
03/04/2018 / By Frances Bloomfield
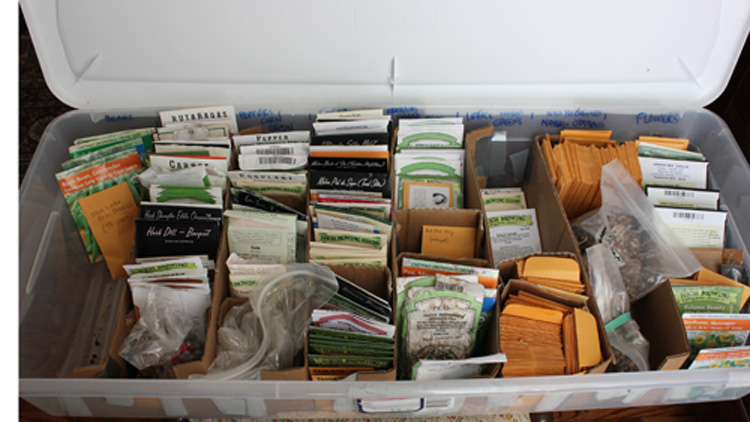
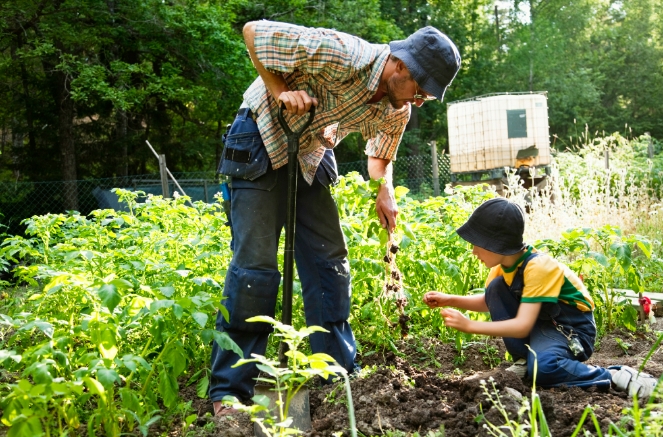
Seed saving is exactly what it sounds like: it’s the practice of saving seeds, tubers, and other reproductive materials from plants. It’s a simple yet highly beneficial agricultural art that, sadly, has dwindled in application thanks to the rise of the industrial revolution. These days, it’s mostly home gardeners that take part in seed saving. Even if you don’t consider yourself a gardener in any capacity, you should totally get on board with seed saving. It saves money, lessens your risk of being exposed to GMOs, and can come in handy if you find yourself in a survival situation. Plus, if you keep these tips and tricks in mind, it’s easy to do.
- Know your seeds: Not all plants are created equal, and the same goes for their seeds. Here’s a brief rundown of what you should keep in mind about seeds:
- Self-pollinating vs. cross-pollinating plants: Self-pollinating plants are those that don’t need pollen (either from insects or the wind) while cross-pollinating plants do. Peas, tomatoes, peppers, and beans are self-pollinating plants, while corn, beets, cucumbers, squash, and melons are cross-pollinating plants. Because they can yield hybrid varieties, cross-pollinating plants should be isolated from other plant breeds of the same species. You can also choose just to grow one variety of cross-pollinating plants at a time to minimize hybridization.
- Annuals vs. biennials vs. perennials: Annuals like lettuce and tomatoes are plants that complete their life cycle within one year before dying. Biennials like beets and carrots need two years to finish their life cycle. Unlike annuals, biennials don’t produce seeds until their second year. Perennials like garlic and asparagus can survive for many growing seasons and will bear seeds each year.
- Keep your seeds clean and dry: Moisture can cause mold to develop on your seeds, making it all the more important that you dry them thoroughly before storage. You can do this by spreading them on plates or newspaper and leaving them to dry in a sun-exposed room for a few days. Don’t forget to rotate and spread them. Remember that larger seeds will require longer drying periods.
- In case of wet seeds: Certain seeds, like those from tomatoes and cucumbers, are surrounded by gel sacs. According to MotherEarthNews.com, you can remove the gel sacs by first soaking the seeds for 24 to 48 hours. Good seeds will sink while the bad ones will float. When all the good seeds have been sorted out, strain them then spread them out to dry. (Related: 7 Tips on How to Grow Delicious Tomatoes in Your Garden)
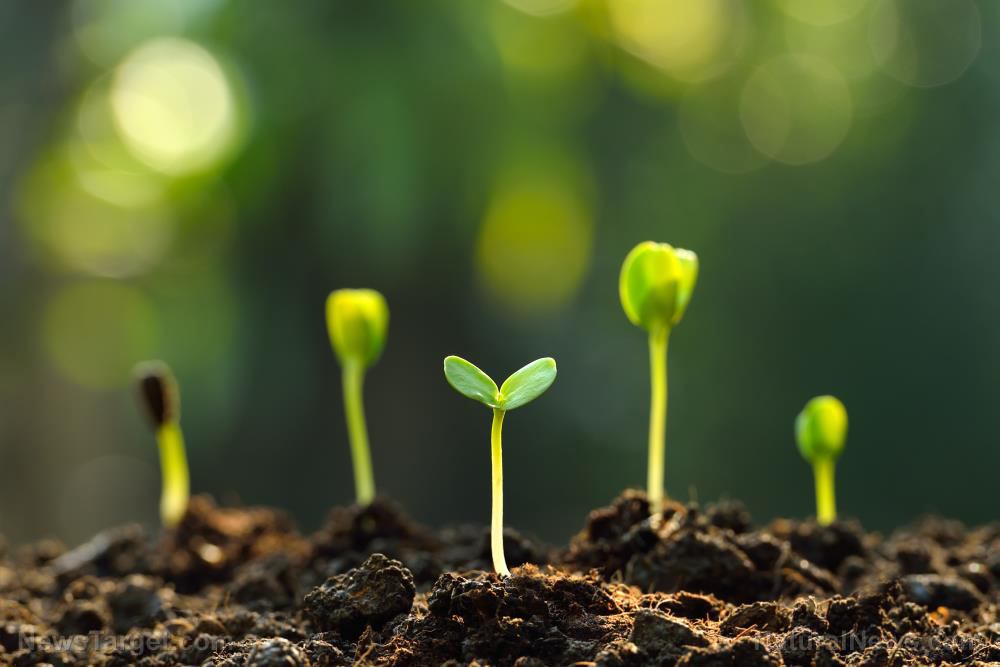
- The germination test: Want to know the viability of your seeds? Do the germination test. Simply roll a few dozen seeds in a moist towel and cover it with plastic wrap to sprout the seeds. This can take as little as four days or as long as 28 days. If your seeds take longer than 28 days to sprout, or if less than 50 percent of the seeds do before 28 days, then you’ve most likely got a batch of duds. Toss them and make a new one.
- Store your seeds properly: Light and heat are the enemies, while cool temperatures will ensure that your seeds keep for longer. Avoid placing your seeds in rooms with a lot of light and heat, or fluctuating temperatures. Moisture-proof containers such as Mylar bags or mason jars are perfect for seed saving. If you do it right, then you can store your seeds for several years. For instance, pepper and carrot seeds can last at least three years; cucumber, tomato and pea seeds for five; beans can last between five to ten years.
Want to become even more self-sufficient? Then go to Homesteading.news to read up on more tips and guides on achieving independence in this day and age.
Sources include:
Tagged Under: food, food independence, food supply, gardening, harvest, home gardening, homesteading, seed saving, seeds, self-reliance

