This no-till gardening method will help you ‘feed’ your soil
07/07/2016 / By usafeaturesmedia
(Homesteading.news) No-till gardening is a natural method of gardening that rejects mechanical means of horticulture, such as compacting, plowing, eroding and degrading the earth using tools and machines, in favor of less aggressive means that encourage soil fertility. Advocates of the no-till method believe that tilling is bad for land in the long-term because it breaks the soil’s structure, ultimately leading to soil erosion. It also destroys fungi, earthworms, organic material, and bacteria, which all play an important role in natural and healthy soil ecology.
Origins
The origins of no-till gardening are sometimes ascribed to the Australian conservationist, Esther Deans, who fashioned a method of gardening which involved placing newspaper or cardboard over a patch of grass or weeds. When mulch (rotting organic matter, such as vegetable peelings) was placed atop the layer, natural soil-making conditions were produced. However, the Japanese microbiologist Masanobu Fukuoka has also been labeled the ‘parent’ of no-till gardening, since his book, The One-Straw Revolution, advocated a method of soil building that was divorced from machines and chemicals. In the United States, gardener Ruth Stout is often considered the originator of no-till gardening. She advocated a method of gardening that involved layers of compost on top of an initial layer of card or newspaper, which eventually decomposes and provides fertile growing conditions for plants.
Creating a garden using the no-till method
If you’d like to create a garden using the no-till method, follow these steps:
1.) After you’ve selected where you want your garden to be, remove any obtrusive shrubs or weeds from the area. This isn’t essential with small weeds, since they’ll be suffocated by the first layer you add anyway, but if you have any large flora in that area, it might be best to remove them to ensure a reasonably flat space.
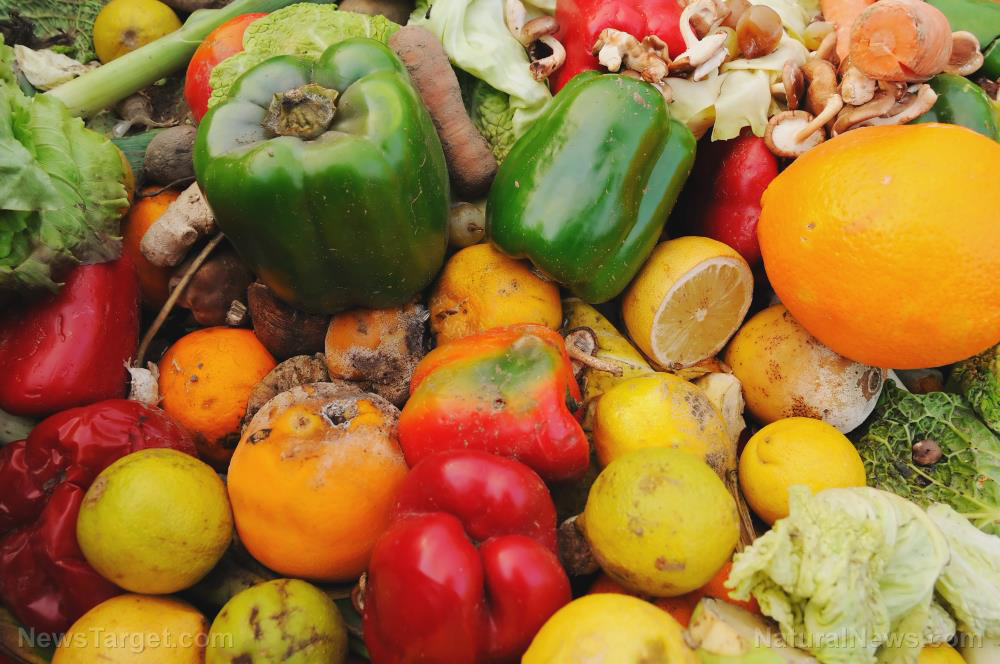
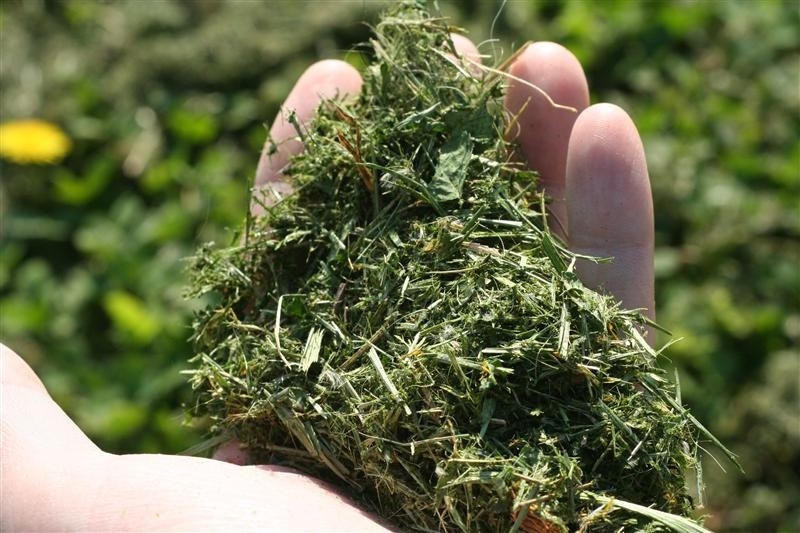
2.) Add a layer of cardboard or newspapers on top of your selected space and water it. Then add a layer of mulch (such as grass cuttings, straw, vegetable scraps, leaves, paper, wood scraps, or a combination of several) on top of the damp cardboard or newspaper layer. These two initial layers will encourage the right conditions for fertile soil, and they will also attract earthworms to the area.
3.) After these two first layers are added, you can continue to add more layers of mulch to the existing layers. According to the lasagna method, it’s a good idea to alternate between layers of browns (such as peat and shredded newspaper) and greens (such as grass and vegetable peels).
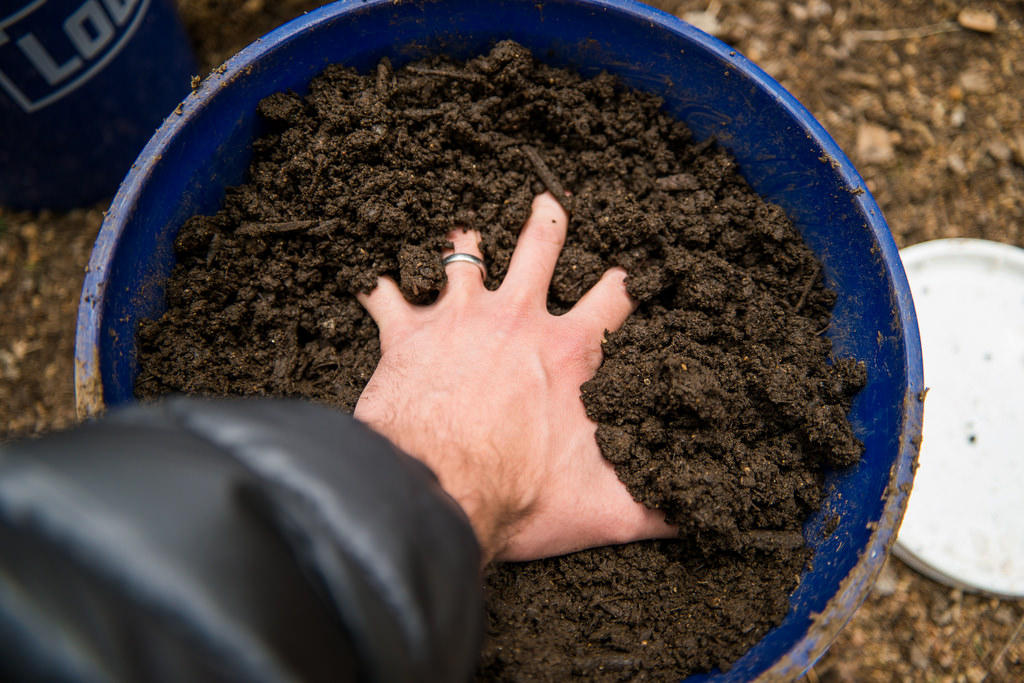
4.) Once your layers of mulch have reached a height of approximately two feet, you can cease adding new layers and wait until everything composts. You might be surprised at how quickly this happens. Once the layers have ‘flattened’ through composting, your no-till garden is ready. This process will have created excellent soil quality for growing plants. Since it is common for the first layer (the cardboard or newspaper layer) to still exist after the compost is finished, you may need to cut circular holes in it before you can plant seeds or plants in the soft, fluffy soil below it.
And that’s basically the no-till process. You can create a garden using this method any time of the year, and almost all fruits and vegetables will grow in it. Many gardeners like to plant heirloom tomatoes and other unique hybrids in these gardens, since the fertile, mineral-rich soil tends to enhance their unique aesthetic and nutritional qualities.
By Michael Ravensthorpe, Natural News.
Sources for this article include:
http://www.organicgardening.com/learn-and-grow/no-till-gardening
http://eartheasy.com/blog/2009/01/no-till-gardening/
http://notillgardening.com/
http://www.onestrawrevolution.net
More:
- What You’ll Need To Start Your Very Own Herb Garden Any Time Of The Year
- Get Rid Of That Arthritis And Joint Pain After A Day’s Work With These DIY Remedies
- Make Your Own All-Natural And EFFECTIVE Home Cleaning Products
Homesteading.news is part of the USA Features Media network. Get caught up on ALL of the day’s most important news and information here.


